NO KNEAD BREAD
I love homemade bread, fresh from the oven. But I really don’t like to knead the dough.
I have used dough hooks and bread machines in the past to do the work for me. But I discovered a simple no knead method that I enjoy.
The basic bread is simple to make, has a wonderful flavour and rustic appearance and can be adapted to include healthy ingredients.
It is also adaptable to busy schedules because water and time do the work for you. The dough can sit until you are able to bake it.
Read Also
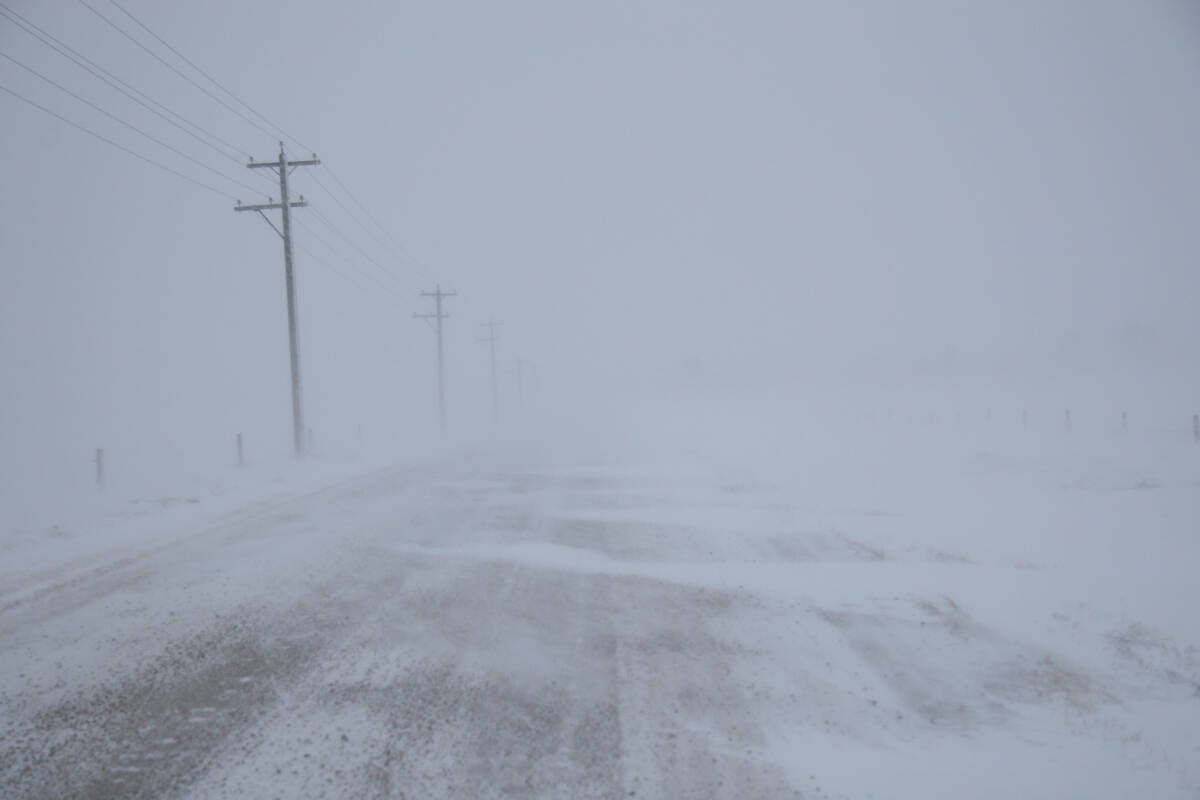
Volatile temperatures expected for this winter
DTN is forecasting a lot of temperature variability in the Canadian Prairies this winter. Precipitation should be close to average.
The basics
The basic science behind this method is that you make a wet batter of flour, water, salt and yeast, mixing it only enough to combine the ingredients. The batter is allowed to sit, in a cool or cold location for three hours to several days, depending on the recipe.
This slow rising, fermentation process allows the gluten in the flour to develop and knead itself.
The dough is shaped, allowed to rise a second time and then baked in a hot oven. It can be refrigerated for part of the first rise time for the best flavour and convenience.
A long, slow, cool rise slows the yeast down, but does not kill it.
A fermentation process occurs in the wet flour mixture where enzymes begin breaking down starches into sugars. Carbon dioxide causes a bubbling action that moves gluten-forming protein molecules around to form elastic gluten strands.
The extra water in the dough gives enough room for these gluten bonds to form without kneading. Other enzymes soften and smooth the crumb for smooth textured, flavourful bread.
When the dough is allowed to warm, the yeast becomes more active and begins to use the sugars in the dough to produce more carbon dioxide gas and alcohol. The gas causes gluten pockets to expand and the dough to increase in volume.
The beauty of this bread-making method is that once you know how to make the dough, you can use it and a few extra ingredients to make a variety of breads and buns.
To shape the dough for baking, fold the dough using a rubber spatula. Work all around the bowl, folding the edges of the dough to the centre. This helps to organize the gluten strands properly and is similar to the hand-shaping technique used to tuck the edges under when forming buns or breads.
Invert the dough into a bread pan or rising basket once the edges have been folded in.
Definitions and tools
Artisan bread is handcrafted bread similar to old style European bread.
The flavour is developed through extended fermentation and the crusts are crisp due to steam added while baking.
The bread can be baked on a baking stone, a half-inch (2 cm) thick porous stone that absorbs moisture from the dough during baking and allows a thin crackling, crisp crust to form.
A pizza peel is a long-handled board that slides dough onto a hot baking stone. A rimless cookie sheet or cutting board will also work.
SIMPLE CRUSTY BREAD
This recipe is adapted from Artisan Bread in Five Minutes a Day by Jeff Hertzberg and Zo Franois and yields four loaves.
3 c. lukewarm water 750 ml (100 F (38 C)
1 1/2 tbsp. yeast 22 mL
1 1/2 tbsp. kosher salt (non-iodized salt) 22 mL ed, 1.625 L all-purpos all-purpose flour extra flour, cornmeal or brane flour
eaplastic container,
mix yeast and salt nto the lukewarm water. Stir in flour, mixing until there are no dry patches. Dough will be loose.
Cover, but not with an airtight lid. Let dough rise at room temperature for two hours until it begins to collapse or flatten on top. A longer rise of up to about five hours will not harm the result.
Bake at this point or refrigerate, covered, for as long as two weeks. Refrigerated wet dough is less sticky and easier to work with than room temperature dough.
Refrigeration for at least three hours is recommended to develop the flavour and texture. When ready to bake, place a piece of parchment paper on a pizza peel or bread board and sprinkle with cornmeal or bran.
Sprinkle the dough with a little flour and cut off a grapefruit-size piece with serrated knife. Add flour to your hands so the dough won’t stick and turn the dough to lightly stretch the surface, which will create a rounded top and a lumpy bottom.
Put dough on prepared parchment paper and let rest 40 minutes, uncovered. Repeat with remaining dough or refrigerate. The extra flour does not need to be worked into the dough. This ball shaped free-form loaf is called a French boule.
Place a broiler pan on the bottom of the oven and then place a baking stone on the middle rack and turn oven to 450F (232 C). Heat stone at that temperature for 20 minutes.
Dust dough with flour and slash top with serrated knife three times. This allows the loaf to expand while it bakes. Slide on parchment paper onto hot stone.
Pour one cup (250 mL) hot water into broiler pan and shut oven quickly to trap steam. Bake until well browned, about 30 minutes. Cool completely.
The high water content of the dough allows it to be stored in the refrigerator for up to two weeks. As the dough ages, it takes on a sourdough flavour.
BAKE IN A LOAF PAN
Stretch rounded dough into an oval shape and place in a greased, nonstick loaf pan. Let rest 40 minutes if fresh and an extra hour if refrigerated.
Preheat oven to 425 F (218C) five minutes before baking with an empty broiler pan on the bottom shelf. Place loaf on middle rack, pour one cup (250 mL) hot water into the broiler tray and quickly close the door.
Bake for 50 to 60 minutes or until deeply browned and firm.
You can use an instant read thermometer to check for doneness. The temperature should read 210 F (99 C) when inserted into the middle.
BAKE IN A COVERED POT
Baking the bread dough in a hot Dutch oven with the lid on traps the steam escaping from the dough. This helps the dough rise and form a crisp crackly crust, which will audibly crackle or “sing” when the loaf is removed from the oven. Thoroughly cover a smooth cotton towel (not terry towel) with flour or cornmeal.
Sprinkle the dough with a little flour and cut off a cantaloupe-size piece with serrated knife, which will be about one half of the original amount of dough. Add flour to your hands and turn the dough to lightly stretch the surface, creating a rounded ball. Place the dough on the floured towel and cover with another floured cotton towel. Let the dough rest about two hours. A half hour before the dough is ready, place a cast iron, steel, enamel or ceramic Dutch oven into the oven on a rack that keeps the pot near the middle of the oven. Preheat oven to 450F (232 C).
Remove the hot pot from the oven and sprinkle the bottom with cornmeal. Remove the top towel from dough and, placing your hand under the other towel, quickly invert the dough into the hot pot. Sprinkle the top of the dough with a little flour and make two or three shallow slashes in the top of the loaf. Immediately put on the lid and return the pot to the oven.
Bake for 30 minutes with the lid and then remove it and bake for 15 more minutes until the crust is golden brown and a thermometer inserted in the middle of the loaf registers about 210 F (99 C).
Betty Ann Deobald is a home economist from Rosetown, Sask., and a member of Team Resources. Contact: team@producer.com .