Tips for tasty frozen veggies
Dear TEAM: My husband and I really enjoy our garden vegetables. We find the least cooking is the best, but, because we live near Prince George, B.C. where the frost-free period is variable (but consistently brief), we have to be content most of the year with our own vegetables from the freezer. We find peas (the shelled ones) taste better if they are put away without any blanching (half-cooking as my husband calls it.) We generally use a four litre plastic ice cream bucket. We don’t half-cook our corn, either, but just strip off the green hulls and pack the cobs into freezer bags.
Read Also
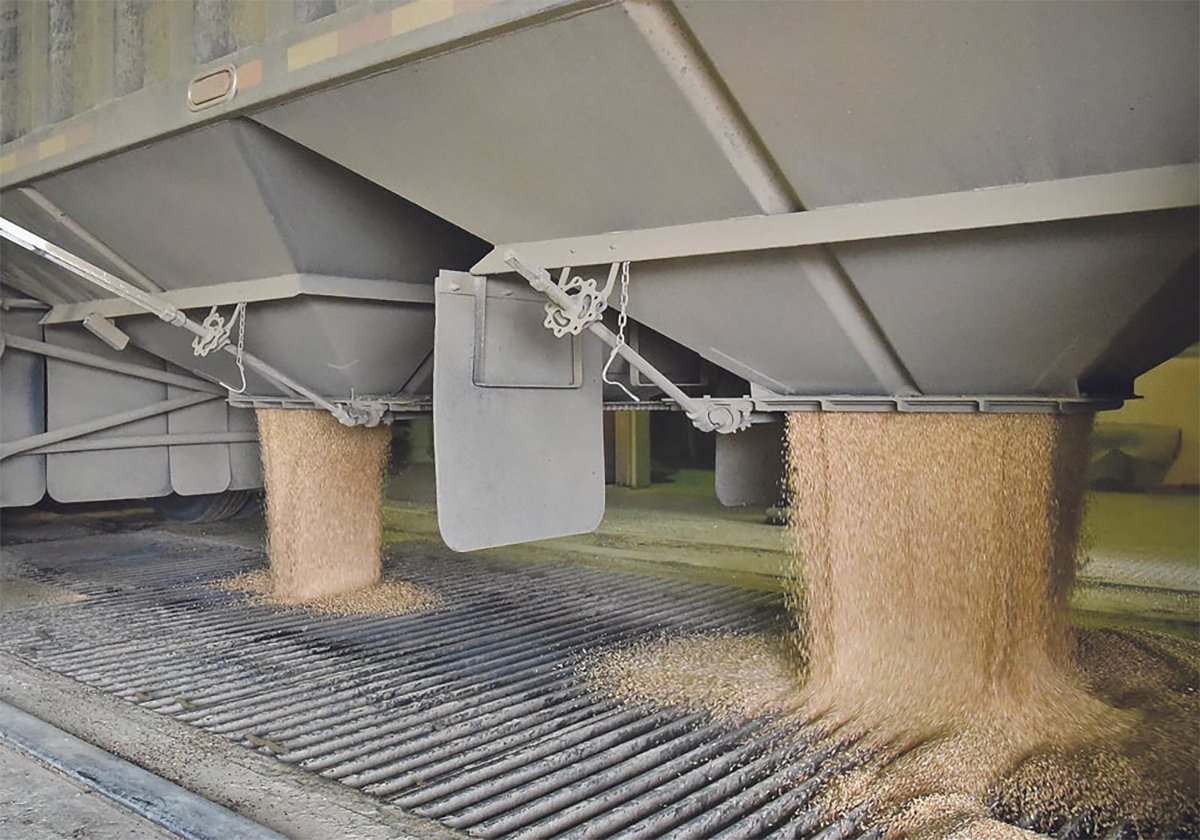
Worrisome drop in grain prices
Prices had been softening for most of the previous month, but heading into the Labour Day long weekend, the price drops were startling.
We really enjoy the plants from the brassica family, broccoli and cauliflower particularly. But when they are already blanched before freezing it is difficult to thaw and cook them without the entire vegetable going to mush. My questions are: Would it be possible to freeze broccoli and cauliflower without blanching? What purpose does blanching serve? How would TEAM recommend we preserve our fresh garden vegetables, especially the broccoli, cauliflower and red and green cabbages?
– W.W., Willow River, B.C.
Dear W.W.: When cooking vegetables, your slogan of “the least cooking is the best,” is a good guideline for most vegetables. Cooking breaks down the cell walls, softening the texture and allowing valuable nutrients to escape. The longer the cooking time, the softer the texture and the more that nutrients will escape.
How long to cook each vegetable is a matter of personal preference, keeping in mind that a short cooking time helps to preserve nutrients and gives a crisp, tender texture.
Freezing also breaks down cell walls. It is impossible to keep a vegetable’s fresh, crisp texture. Expect frozen vegetables to be more like cooked products than fresh-from-the-garden products.
Blanching is destroying enzymes with heat. Enzymes are responsible for changes in fruits and vegetables during ripening. These changes are desirable until produce reaches peak maturity, but must be halted to prevent overripening and eventually spoilage. Freezing slows enzyme activity so many frozen foods such as meats and some fruits will keep satisfactorily.
Most vegetables, including those you have mentioned, require further control of the enzymes they contain. Blanching does this job. The heat of the boiling water deactivates the enzymes that cause off-flavors, loss of color and loss of nutrients. If a vegetable is properly blanched and held in storage at -18 C or lower, the nutritive value will be almost equivalent to that of the same vegetable cooked fresh.
It is possible to freeze broccoli, cauliflower and cabbage without blanching, but research has shown that the longer unblanched vegetables are stored in the freezer, the more the undestroyed enzymes will deteriorate the quality.
Some suggestions for improving the quality of frozen vegetables:
- Follow blanching times exactly, with just enough time to destroy enzymes and to not overcook vegetables. Start timing as soon as vegetables go into the boiling water, not after water returns to a boil. Use a large amount of water for the volume of vegetable being blanched. Check in your freezer book to see what size of vegetable pieces are suggested for the blanching time given. For example, small pieces of broccoli may be given a short blanching time, as long as the heat has had time to penetrate to the centre of each floweret.
- Chill immediately after blanching (by placing in cold running water or ice water) to stop the heating.
- To avoid freezing vegetables in a clump, freeze on a cookie sheet with the individual flowerets not touching one another. Then pack in bags.
- Fruits, vegetables and meats contain a high proportion of water, which forms ice crystals when frozen. Sharp edges and corners of the crystals puncture cell walls, thereby softening the texture. To minimize this problem, freeze foods as quickly as possible and keep the freezer at a constant temperature of -18 C or lower to prevent crystals from enlarging.
- Do not thaw most frozen vegetables before cooking them. The exceptions are vegetables that are large, like corn on the cob, which should be thawed for two hours.
Other ways of preserving vegetables include canning or pickling. Pickling would, of course, give a completely different product. Remember that if canning non-acid foods, like vegetables, it is necessary to use a pressure canner to get a high enough heat to kill botulism spores.
Cream puff technology
Dear TEAM: Could you please tell us how cream rolls are made? I am wondering how they are formed so they are hollow for the cream filling. – J.M., Central Butte, Sask.
Dear J.M.: I’m assuming you mean a cream puff type of roll. Cream puffs are made by their own unique dough. Eggs provide the leavening ingredient that rises the dough into a puffy ball. The dough can be shaped into round shapes for cream puffs or into strips for rolls or eclairs.
The following recipe is from Nellie Lyle Pattinson’s Canadian Cook Book, McGraw-Hill Ryerson Ltd.
Cream puffs
1 cup water 250 mL
1Ú2 cup butter 125 mL
or margarine
1Ú4 teaspoon salt 1 mL
1 cup flour 250 mL
4 whole eggs 4
Preheat oven to 425 F (220 C.)
Measure the water into a small saucepan; add butter and salt; heat to boiling. Remove from heat and add flour all at once.
Stir over medium heat until mixture leaves the sides of the pan and gathers around the spoon (one minute or less.) Do not overcook.
Cool slightly. Add unbeaten eggs, one at a time, stirring after each egg is added and beat until mixture is glossy. Chill until it is stiff enough to hold its shape.
Drop the dough onto greased baking sheet, leaving room for considerable expansion. For eclairs, shape the dough into strips using spoons or a pastry bag.
Bake until puffs have doubled in size and are beginning to brown – five minutes for small, 10 minutes for medium and 15 minutes for large. Do not open the door during the first half of cooking time. Reduce the temperature to 350 F (180 C) and continue baking until crisp and light brown. The total baking time will be about 30 minutes.
Turn off the heat. Cut a slit in each puff to dry the centre cavity. Return to the oven for 10 minutes. They should look dry with only a few threads of moisture inside. Remove from the oven. Cool.
Fill with whipped cream, whipped topping, ice cream, a cream pie filling or lemon custard. Caramel or chocolate glaze may be drizzled over the puff.
Puffs can be filled with savory cheese spreads, chicken, fish or seafood. Yield: 12 large.
Chocolate glaze
1 cup icing sugar 250 mL
1Ú2 cup cocoa 125 mL
1Ú4 cup butter or 50 mL
margarine
1Ú4 cup hot milk 50 mL
Combine sugar and cocoa. Add butter to milk, stirring until dissolved. Stir liquid gradually into combined sugar and cocoa.
Using a spoon, pour the warm glaze over the cooked puffs or dip each puff into the glaze.
To freeze cream puffs
After the batter is shaped on the baking sheet the puffs may be frozen, then removed from the sheet and stored in plastic bags. Bake the frozen puffs as usual, allowing an extra 10-15 minutes. Freezing seems to improve the volume of the baked puff.
After they are baked and cooled they may be frozen. To use, allow the puff to thaw at room temperature about 30 minutes.
Cooked puffs may be filled with an appetizer mixture before freezing. Defrost at serving time by baking for 15 minutes at 400 F (200 C.)