This cuddly bunny was a project my 13-year-old daughter Katherine and I started a couple of years ago. She made one for her friend and we recently completed hers.
We took a class together at our local sewing store, Sew Special. The owner, Shelley Barbour, had done the original, which was designed with a block of wood in the stomach so it would sit on a shelf.
We adapted our bunny by stuffing it completely with fiberfill to make it soft and cuddly. The imitation rabbit fur gives a realistic look and feel. The bunny can be stitched or glued together. I prefer sewing, especially if it is to be used as a toy. It is a great project to do with children who are interested, or it would make a nice Easter gift.
Read Also
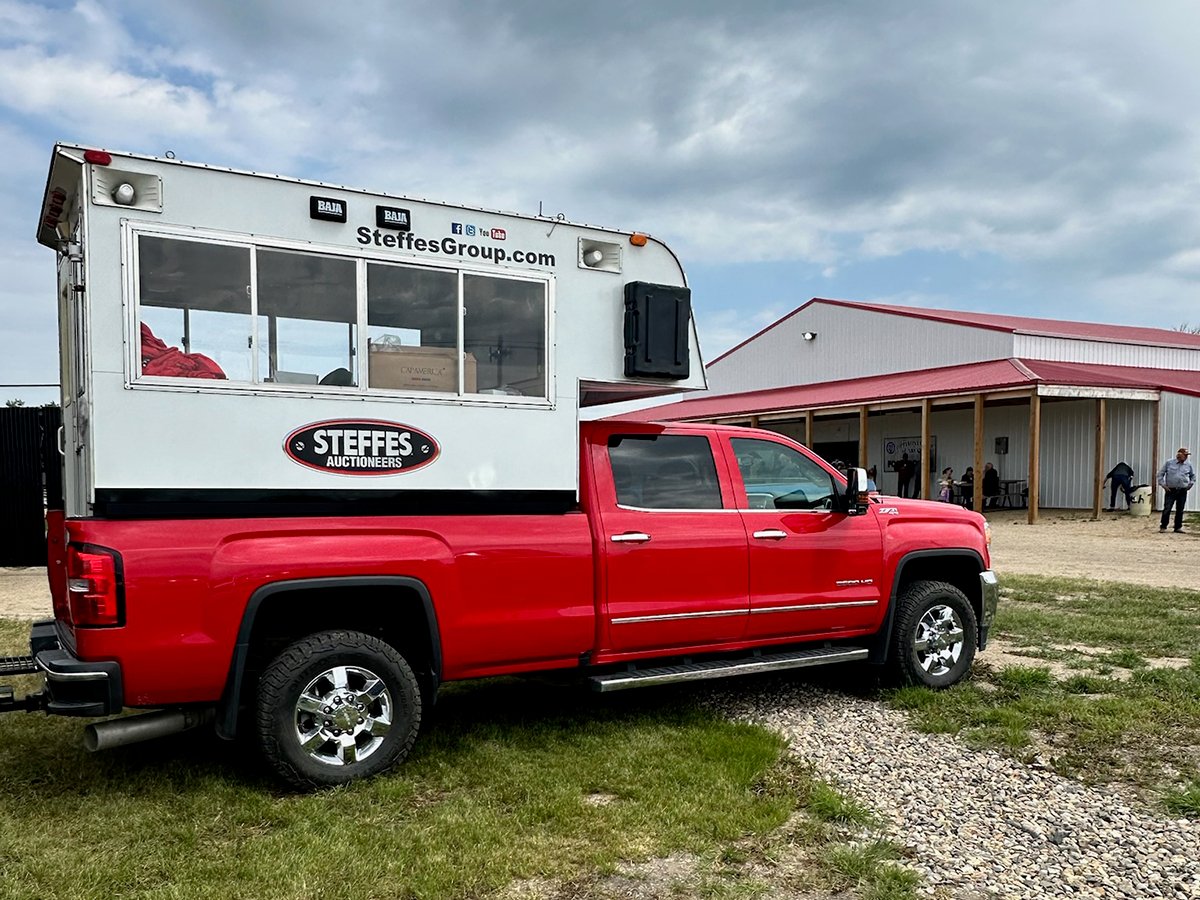
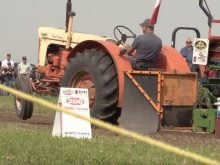
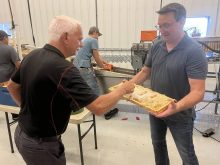
Farm auctions evolve with the times
Times have changed. The number of live, on-farm auctions is seeing a drastic decline in recent years. Today’s younger farmers may actually never experience going to one.
Enlarge the pattern pieces above on a photocopier. The length of the head pattern piece should be 81Ú2 inches (21 cm) and the width 73Ú4 inches (191Ú2 cm).
Materials needed
- 81Ú2 inches (22 cm) imitation rabbit fur. (The width of the fabric is 60 inches (150 cm) and 17 inches (44 cm) will give enough fur for three bunnies.)
For each bunny:
- 25 inches (64 cm) of 45 inch (115 cm) fabric. This is the bunny’s body and so can be a print, stripe, floral or plain.
- Two metres of ungathered lace 11Ú2 to 2 inches (4-6 cm) wide.
- Two black button eyes (12 or 15 mm).
- Two pipe cleaners.
- Pink embroidery cotton for nose and mouth.
- Dental floss (non-waxed) for gathering.
- Needle large enough to thread with the dental floss.
- Half a bag of fibrefill.
- Glue gun (optional).
- Ribbon, lace, ribbon roses, pearls, etc. to decorate.
Instructions
Cutting layout: Cut out fur, paying close attention to direction of pile.
Body: Cut a strip of fabric 16 inches (40.5 cm) long by 45 inches (115 cm) wide. Sew lace along one long side, right sides together. Press lace down. Join 16 inch (40.5 cm) edges, right sides together and sew. Turn out and press. This seam is the centre back seam of the body. To make the legs, turn right sides together, with seam in the centre. Sew an upside down V, 71Ú2 inches (19 cm) deep including the lace. Sew several times at point to reinforce. Clip fabric between V and turn right side out.
Arms: Cut two pieces of fabric 14 inches (35.5 cm) long by 71Ú2 inches (19 cm) wide. Sew lace, right sides together, to one long edge of both pieces. Press lace down. Sew short ends of each piece together and turn right side out. Sew arms to side of body with seam to underside. Stitch through both layers of arm material.
Gather the neck opening closed. To gather, use a length of dental floss, knot at end, take two small stitches to secure the end and then do a basting stitch about 1Ú4 inch (0.5 cm) from edge of material. Pull up floss to gather, then take two or three small stitches to secure and knot.
(To make a Block Bunny, at this point place a 2 x 4 inch block of wood cut five inches (13 cm) long inside the body and gather the top edge of the body closed. Glue to top of wood block. When stuffing the legs, have the bunny sitting on the edge of a counter and legs dangling in order to judge the amount of stuffing needed. Do not overstuff.)
Ears: With right sides together, sew the fur ear piece to a fabric square slightly larger than the ear piece. (With your hand, brush the fur to the centre of the ear, so the hair won’t get into the seam.) Trim excess print fabric, and turn right side out. To make the ear stand up better, insert the pipe cleaners. Gather the bottom edge of the ears making sure the fabric and fur are gathered together as one piece.
Head: Gather edge of head and stuff firmly, noting which is front and back (pile runs toward back of head.) Position and glue or stitch to the top of the body. Position and stitch or glue the ears to the head. You may want to stitch the ears together to help them stand upright.
Decide on the eye position. Using a knotted end of dental floss take one or two small stitches in the first eye position. Run the needle through the head to the second eye position and take one stitch. Gently pull to indent the eye area. Knot the floss to secure the indentation. Stitch on the button eyes. The fur may need to be trimmed around the eyes.
Just below the eyes part the fur by brushing it up toward the forehead and the rest down toward the neck. At this part, use the pink embroidery cotton to stitch a nose. I used several long satin stitches, across the fur, to form a triangle. Below the nose I embroidered a small smiling mouth. I found I needed to slightly trim the fur when I was finished to expose the facial features.
Arms and hands: Run gathering stitches around the bottom of arms, pull up slightly and then stuff the arms, finishing by pulling closed. Gather around and stuff hands. Stitch or glue in place.
Legs, feet and tail: Run gathering thread around bottom of legs pulling to gather slightly. Stuff legs and body, until soft and cuddly. Pull gathering thread closed. Gather feet and stuff only firmly enough to keep their shape. Stitch or glue in place. Gather and stuff tail. Attach to back just above the legs.
Decorate: Add lace ribbon, flowers or pearls to your liking.
Recipes requested
Dear TEAM: We would like the recipes for Dutch relish and stove top stuffing. – M.M., Burnaby, B.C.
Dear M.M.: I hope the following recipes are what you wanted.
Dutch relish
2 cups chopped 500 mL
or ground green tomatoes
2 cups chopped 500 mL
or ground peeled cucumbers
1 sweet red pepper, 1
chopped or ground
1 green pepper, 1
chopped or ground
1 large head celery 1
with leaves, chopped or ground
2 cups chopped 500 mL
or ground onions
3 tablespoons salt 45 mL
boiling water to cover
3 cups cider or 750 mL
blended vinegar
4 teaspoons dry 20 mL
mustard
11Ú4 teaspoons 24 mL
turmeric
1 2Ú3 cups sugar 400 mL
1Ú3 cup flour 75 mL
1Ú2 cup cold water 125 mL
Combine first six ingredients. Add salt and stir well. Add just enough boiling water to cover. Allow to stand 30 minutes. Pour into a sieve or cheesecloth bag and drain thoroughly. Cover with the vinegar and bring mixture to a boil. Meanwhile, combine mustard, turmeric, sugar and flour and blend to a smooth paste with the water. Add to the vegetable mixture, mix well and bring to a boil. Boil two to three minutes. Pour into hot sterilized sealers and seal. Yield: about 10 cups.
Source: Jams, Jellies and Pickles, Agriculture Canada, 1956.
Stove top stuffing
4 cups soft crumbs 1 L
or cubes from day-old bread
1Ú4 cup margarine 50 mL
1Ú2 cup chopped 125 mL
celery
1Ú4 cup chopped 50 mL
onion
1 teaspoon salt 5 mL
pepper
1 teaspoon sage or 5 mL
poultry seasoning or savory
1Ú4-1Ú2 cup chicken 50-125 mL
broth or instant soup base
Melt margarine and saute celery and onions until golden. Add crumbs, salt, pepper and the herb, mix well. Add broth to moisten. Heat thoroughly and serve.